Point of Sale
Using the checkout screen
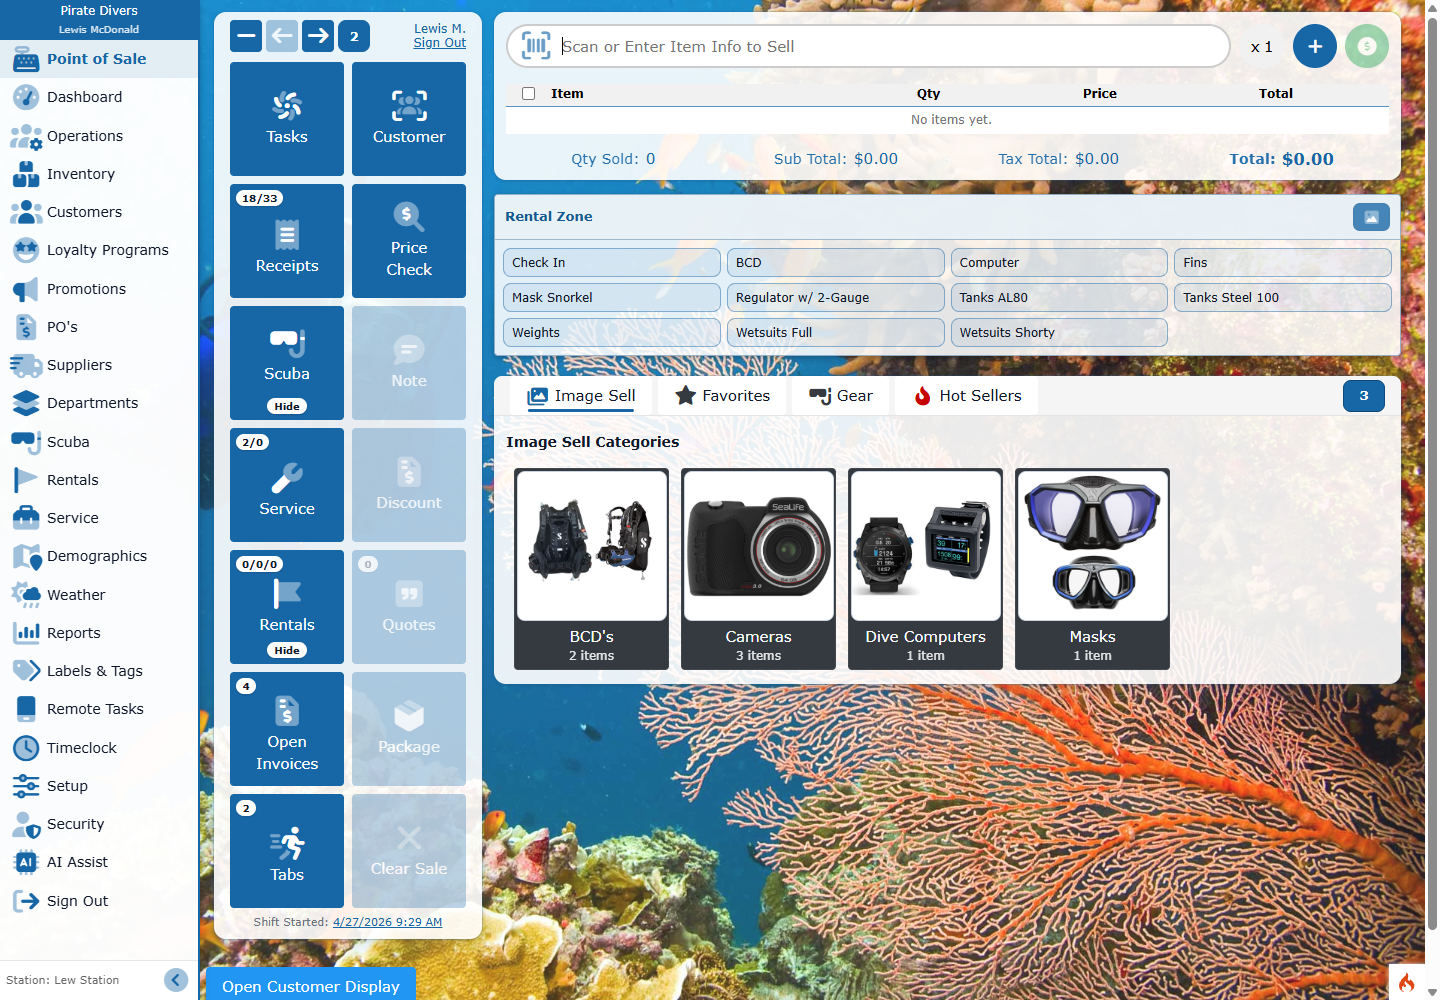
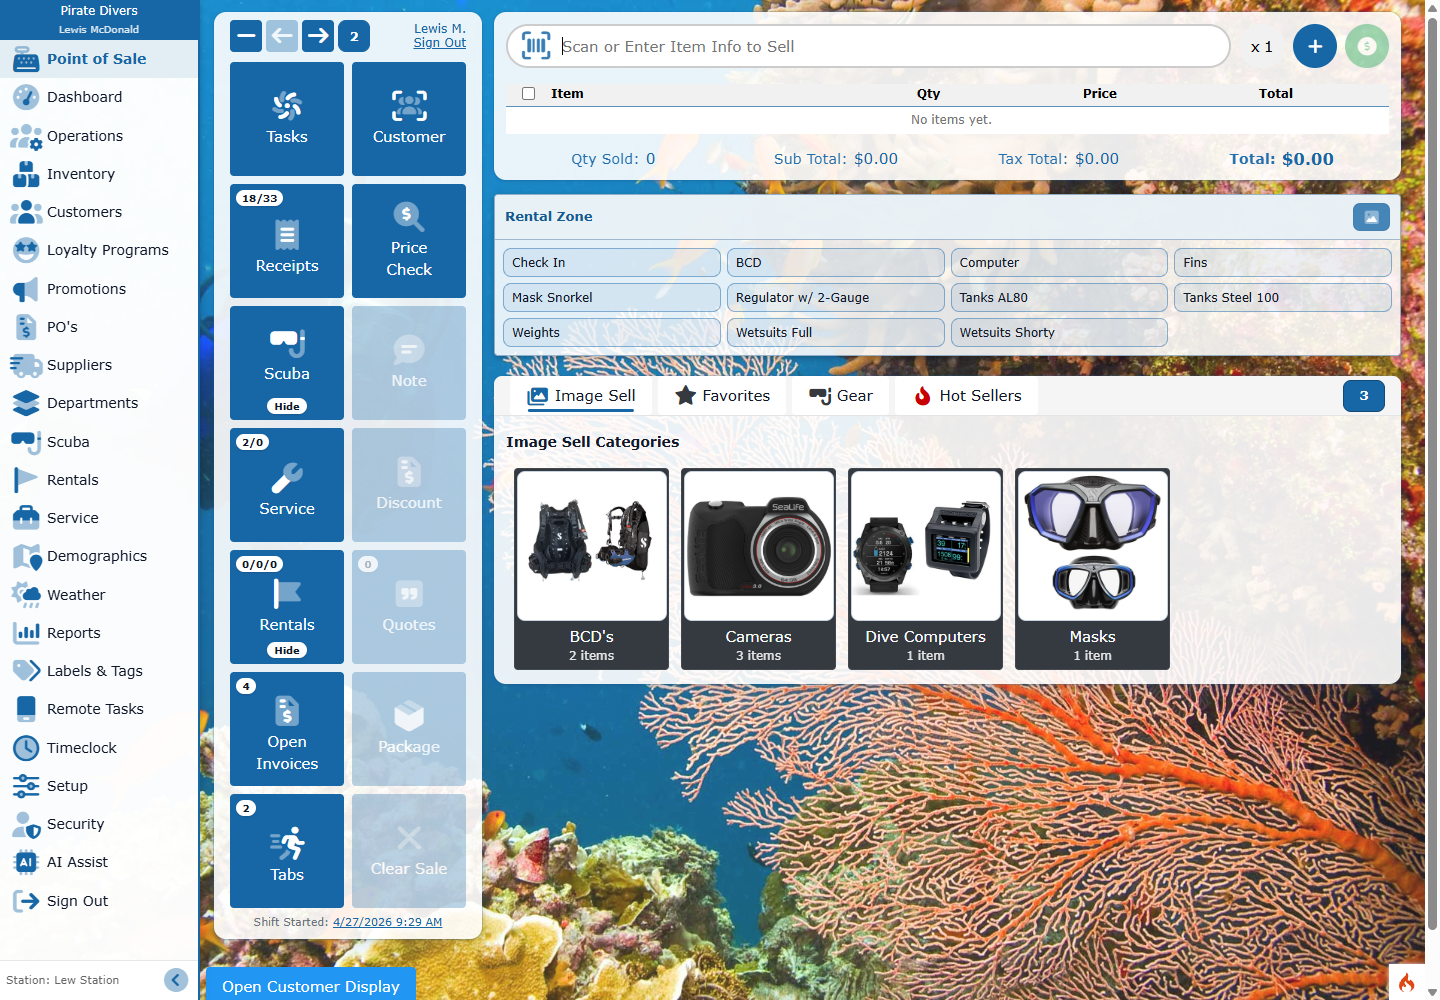
The Point of Sale screen is the main selling surface. Staff can scan or search for items, switch between sale and return mode, assign customers, open receipts, check prices, access rentals and service, show open invoices, use running tabs, and tender the sale.
Layout Options
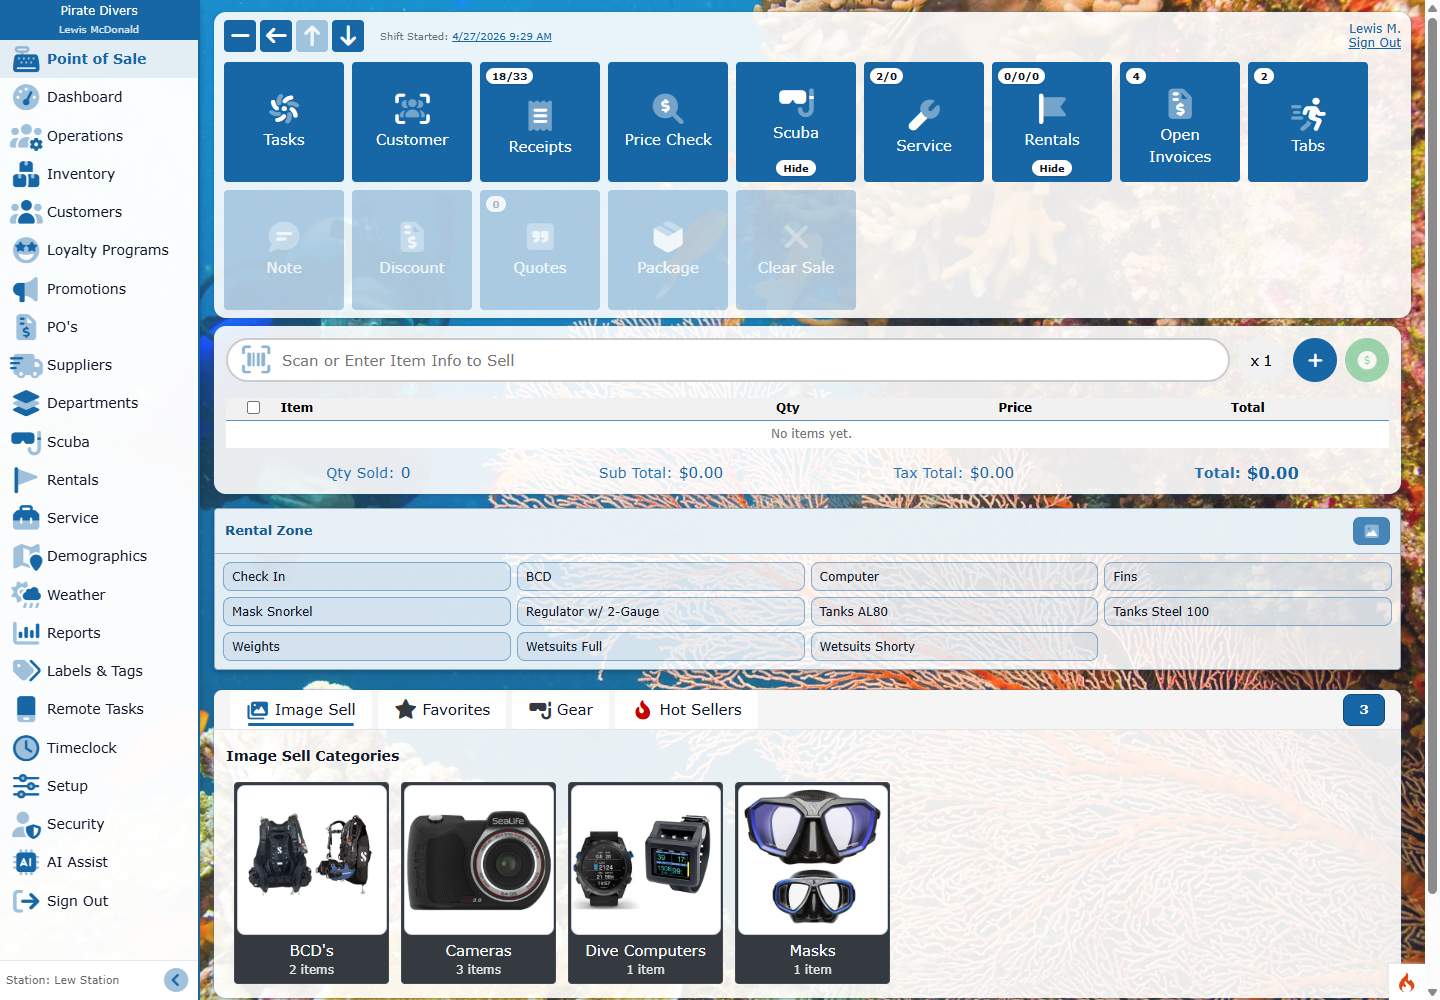
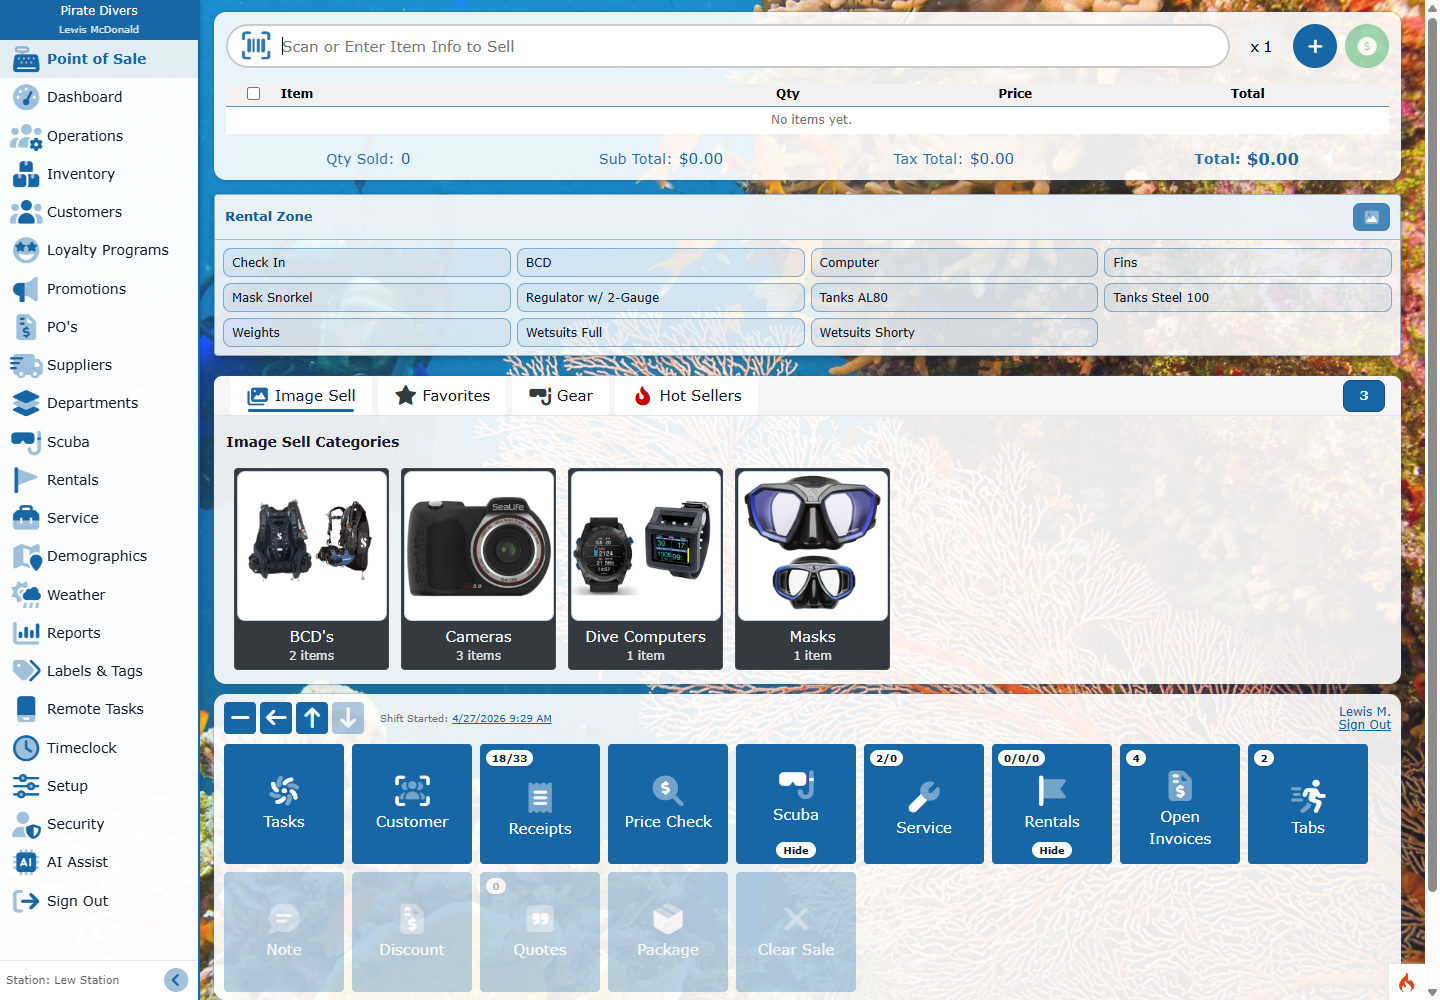
The action card is flexible so each station can match the way the employee works. Use the action card controls to hide the shortcut card, move it left, move it right, move it above or below quick-sell content, or cycle the maximum button count.
- Left layout keeps task shortcuts beside the sale ticket.
- Below-ticket layout places shortcuts under the ticket for wider quick-sell space.
- Below-Favorites layout keeps Image Sell and Favorites higher on the page.
- Compact shortcut mode reduces the card width for stations with limited space.
- Hidden shortcut mode gives the ticket and quick-sell grid the most room.
Selling with Image Sell and Favorites
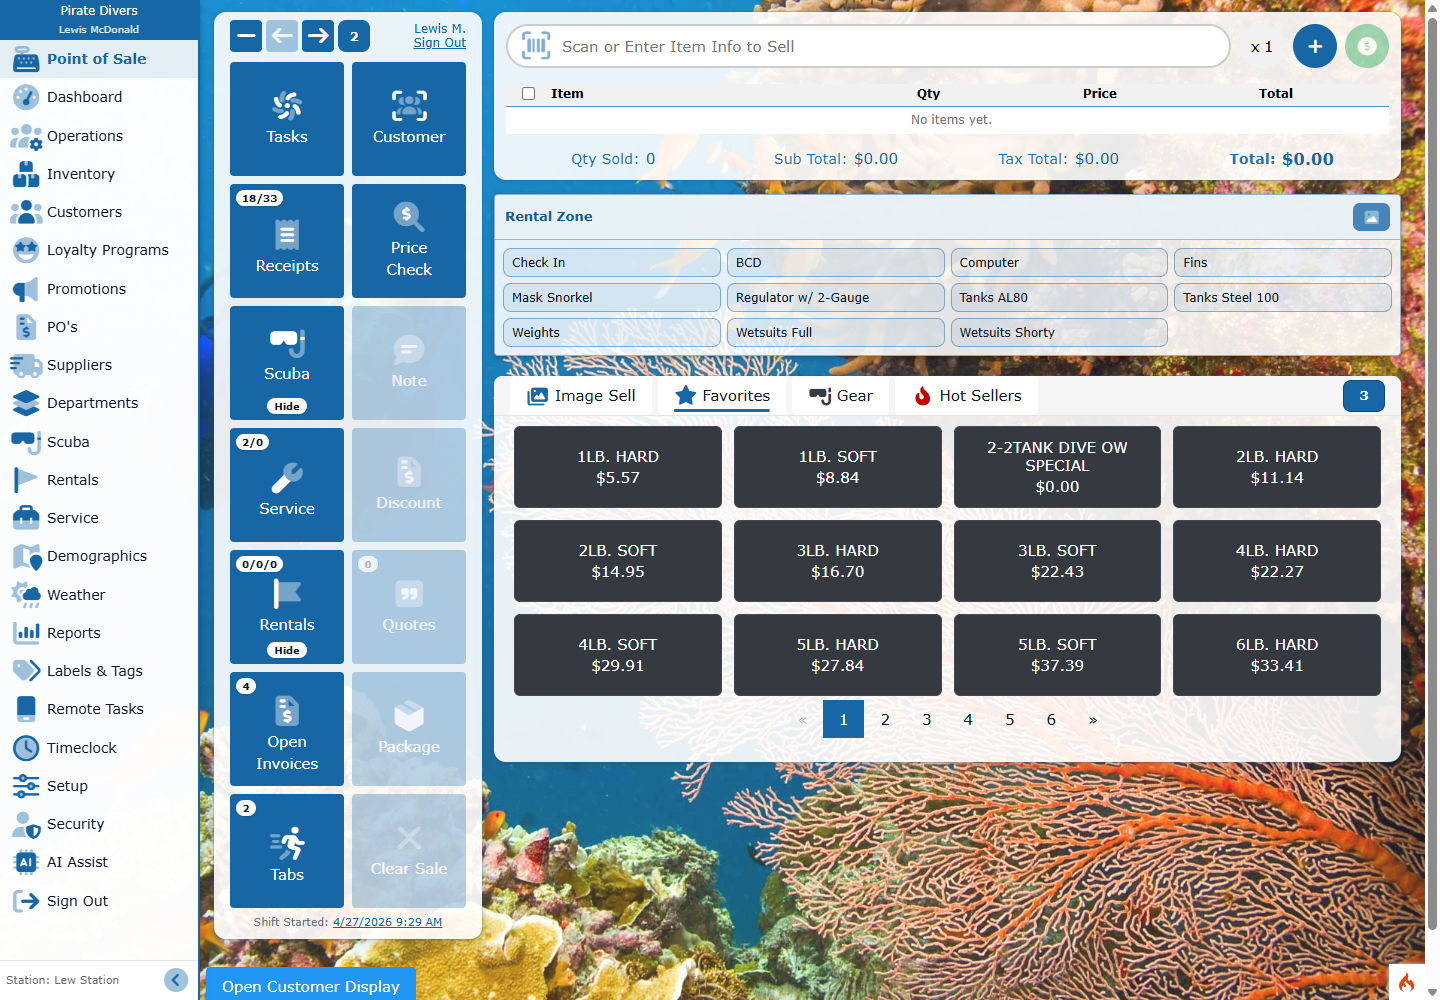
Use Image Sell when a visual category path is faster than scanning or searching. Use Favorites for common products or shop-specific buttons. Gear and Hot Sellers give additional fast-access ways to add items.
- Search or scan from the main entry field.
- Use x 1 to change quantity before adding the next item.
- Switch Sale mode to Return mode when handling returns.
- Use tender buttons after at least one item is on the ticket.
Rentals in POS
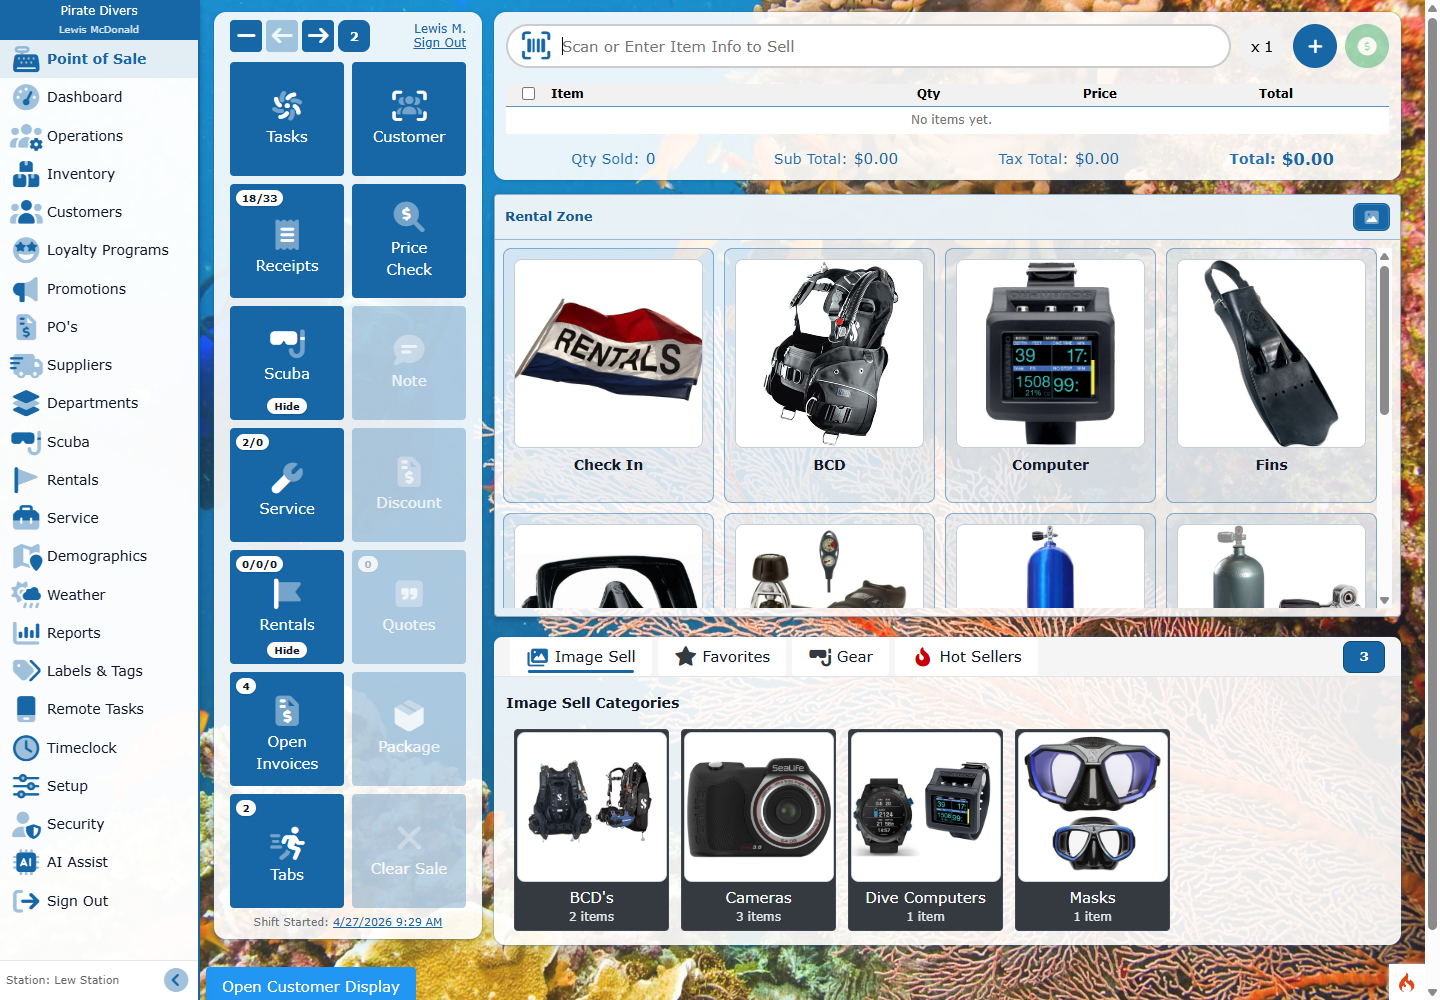
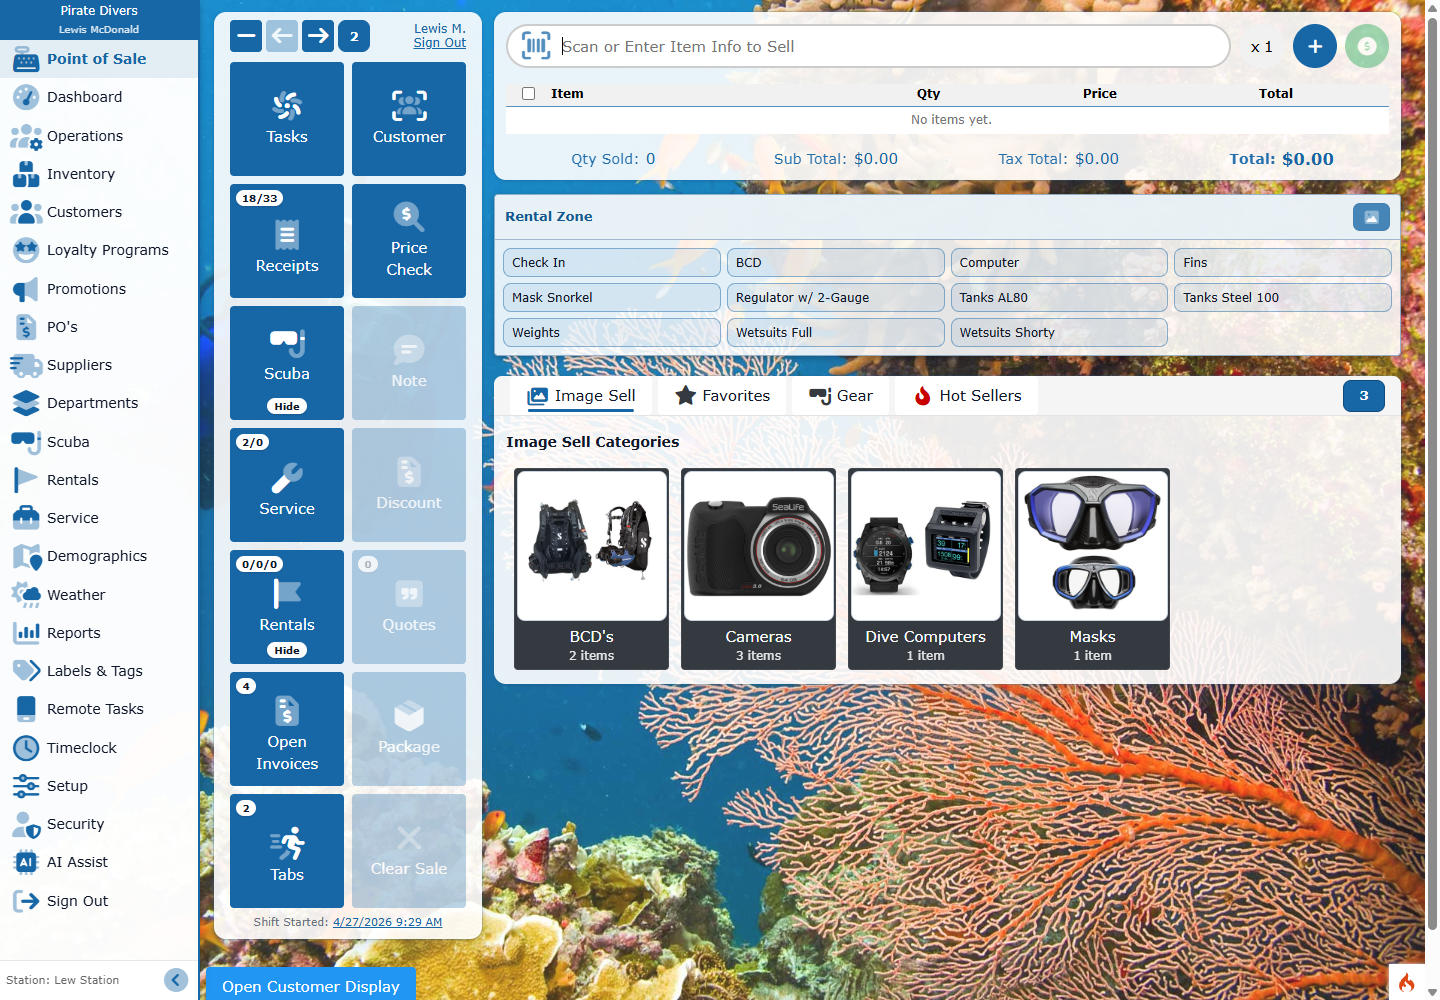
The Rental Zone can be visible during checkout. Staff can open Check In or choose a rental category. The category display can switch between image mode and text mode.
Scuba Calendar in POS
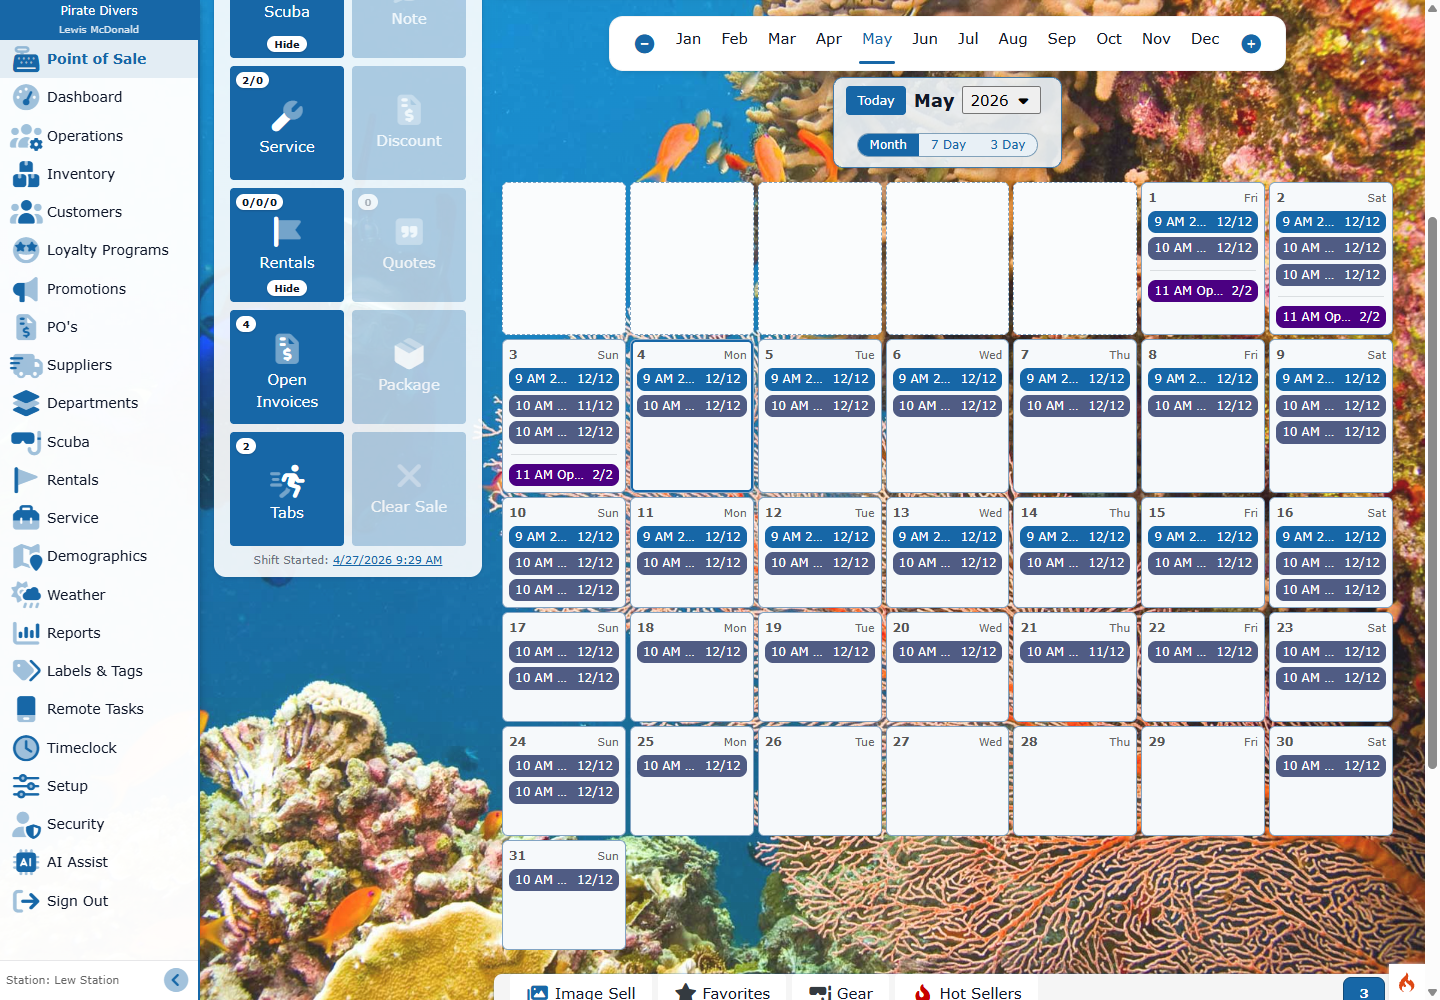
The Scuba shortcut opens the embedded calendar so staff can reference trips, classes, seat counts, and manifests without leaving checkout. This is useful when selling gear, booking a customer, or answering availability questions at the counter.